

Sushi is NOT about munching on raw fish.
Sushi can be whatever you want it to be; whether you are a vegetarian, meat eater or indeed, whether you enjoy munching on raw or cooked fish! In my household we like to eat sushi the vegetarian way, and it has never come as a surprise to me that little Olive adores eating Sushi. It is the most perfect brightly coloured, fun looking finger food for little ones, and it's an added bonus that the content of it is super healthy.
I would not recommend involving little ones in the making sushi. The process is quite precise and the super sticky rice could very quickly become very stressful. Instead I'd suggest enjoying the process in your own company, and then surprising excited little ones with your beautiful and tasty results :)
You will need:
Equipment

- Large mixing bowl
- Bamboo rolling mat (available from most large supermarkets)
- Cling film wrap
- Very sharp non-serated knife
- Small bowl filled with water for moistening fingers
Essential ingredients

- A pinch of salt
- 1 cup sushi rice
- 1 1/2 cup water
- 30ml rice vinegar
- 1 flat tbsp caster sugar
- 3 sheets of nori (sheets of dried seaweed)
- Your filling of choice. Personal recommendations include advocado, peppers, cucumber, tinned tuna, smoked salmon and cream cheese. In whatever combinations you desire.

The following make nice accompaniments to sushi:
- Pickled ginger
- Soy sauce (I use an alternative called "Tamari" because I am wheat intolerant)
- Wasabi (similar to horse radish)
- Rice Mirin (can be used instead of caster sugar in the rice preparation)
Getting started:
Begin by making yourself a large soapy bowl of hot water, you are going to need it, this could get messy!
Cook your rice. You can either follow instructions on the packet, or I tend to soak 1 cup of rice in 1 1/2 cups of water for half an hour then bring to the boil and cook for 10 minutes. If you are pushed for time I have tried without soaking first and it doesn't seem to make much difference, it might just need cooking slightly longer.
In the mean time,
Gently heat the rice vinegar, pinch of salt and sugar until the sugar is disolved.
Once your rice is cooked,

Stir in your vinegar solution and leave the rice to cool as quickly as possible (remember, don't leave rice sitting around in a warm environment unless you want food poisoning - I tend to wait until it's cooled a little and then place in the fridge for 10 minutes or so).
Whilst waiting,
Set out your work space as follows:

- Prepare your filling (chop vegetables etc)
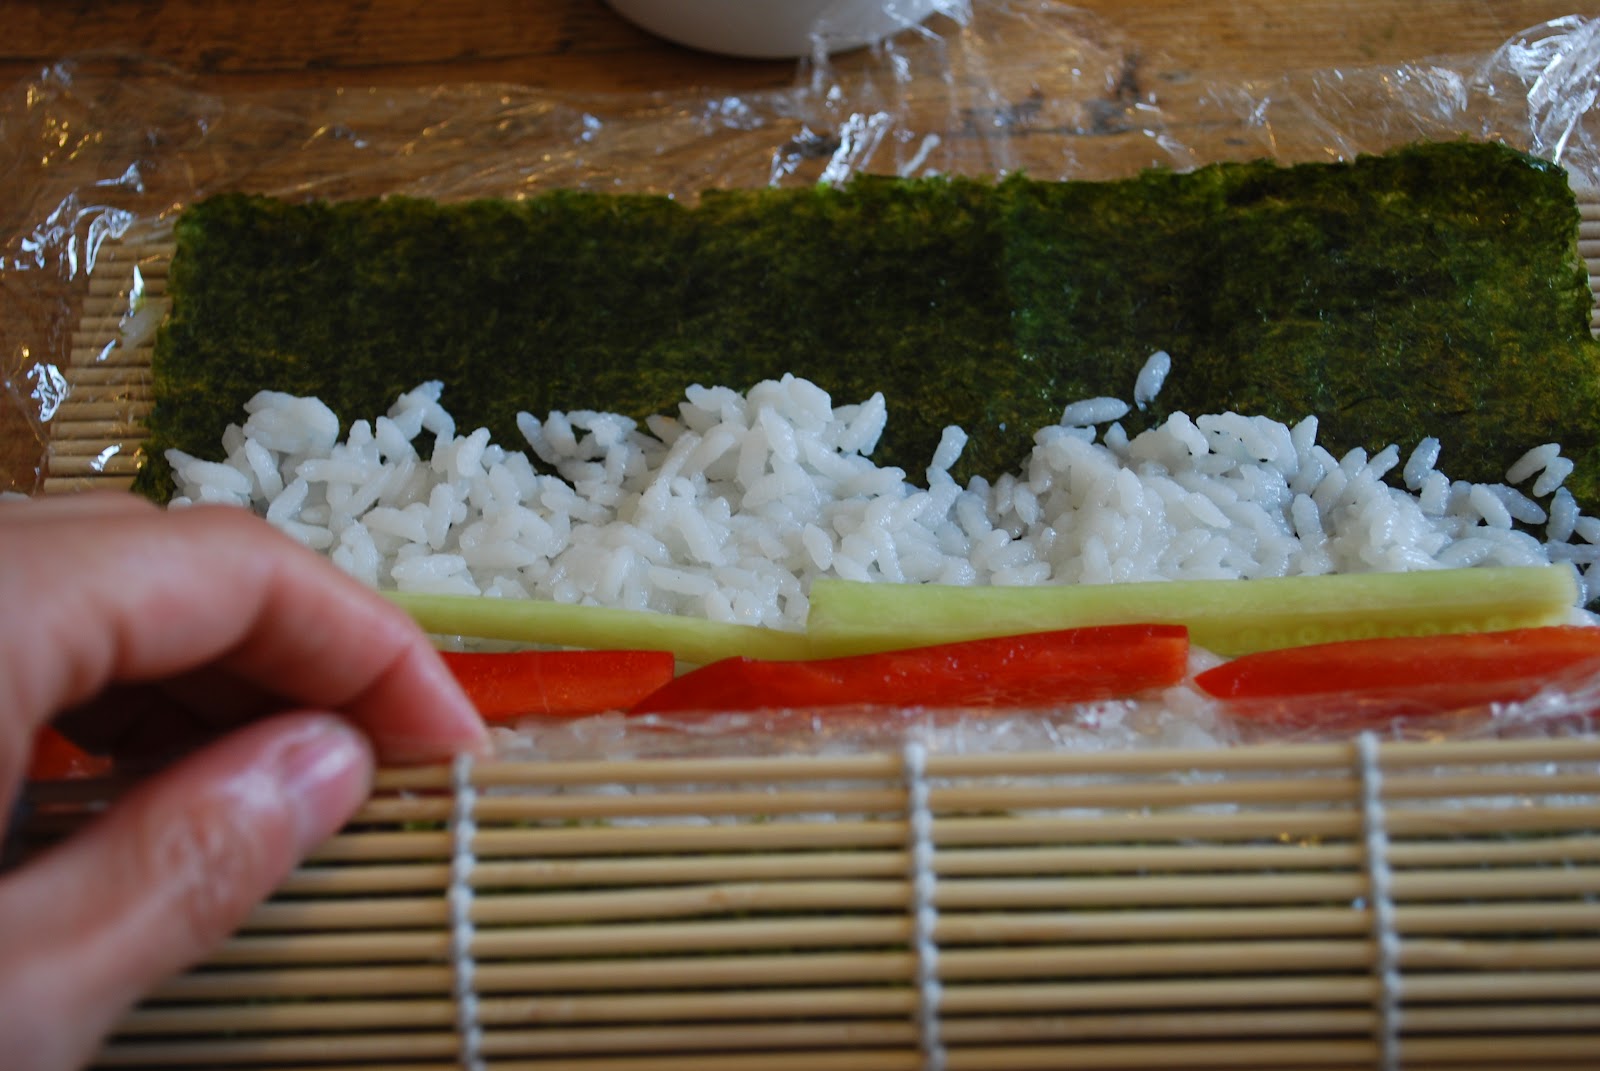
- Lay out your rolling mat and place on top of it a sheet of cling film and then a sheet of nori.
- Place a small bowl of water handy for moistening fingers.

With your hands grab some rice and pat it onto your nori sheet about just 3mm in thickness and leaving around 5cm space at the front and back of the nori sheet for when you roll.

Place your filling through the centre (don't over do it or rolling will become a splodgy mess!).
Dampen the exposed nori edges with a little water.

Repeat until you run out of rice.
Place your rolls in the fridge for at least half an hour to help the rice stick and then remove and slice into 1 inch pieces with a non serated very sharp knife.

ENJOY :)

Yummm! I can't wait to make sushi a regular meal in our household :)
ReplyDelete